
Super cute, right? Well, the link contained no instructions on how to make it so I searched around for one to buy. I found one, but it was almost $40! No thanks! After some thought, I decided that I could easily reproduce this. So I did. Here is my version:

I recently learned that you can print onto fabric with an inkjet printer. I thought that would be perfect for this project! You can use a technique with freezer paper to print on fabric but I opted for the easy way. I went to Office Depot and purchased a 10 pack of canvas cloths for $14.99. They were already in the size I needed and they are made for being printed on. No fussing around needed! They can be purchased online here. If you prefer to use the freezer paper method, you can find the technique detailed here.
Next I selected a font I liked. You can find endless free fonts at dafont.com. I personally liked the Appleberry font available so that is what I used. Find one you like and download it, or use one that is already in your library if you like. Use a text or paint program to create your masterpiece. I used Adobe Photoshop but you really don't need anything that fancy to make this. Remember to justify the text to make everything line up nicely.
Once you have your creation ready, print it out on your fabric! Make sure to check and double check your printer settings before printing. Printing a test page on paper is really helpful. I set my printer to use best quality and maximum dpi. You want it to go heavy on the ink to really saturate the fabric. Remember not to touch the ink for a while after it prints. You don't want it to smudge!
When the ink dries, pop the fabric into an 8.5 x 11" document frame or trim it down to fit an 8 x 10" frame. I picked up my document frame at the dollar store, removed the glass, and framed my canvas. The whole project cost me about $2.50. I love inexpensive gifts that look great! If you have a bigger budget, this would probably look great in a nice matted frame.
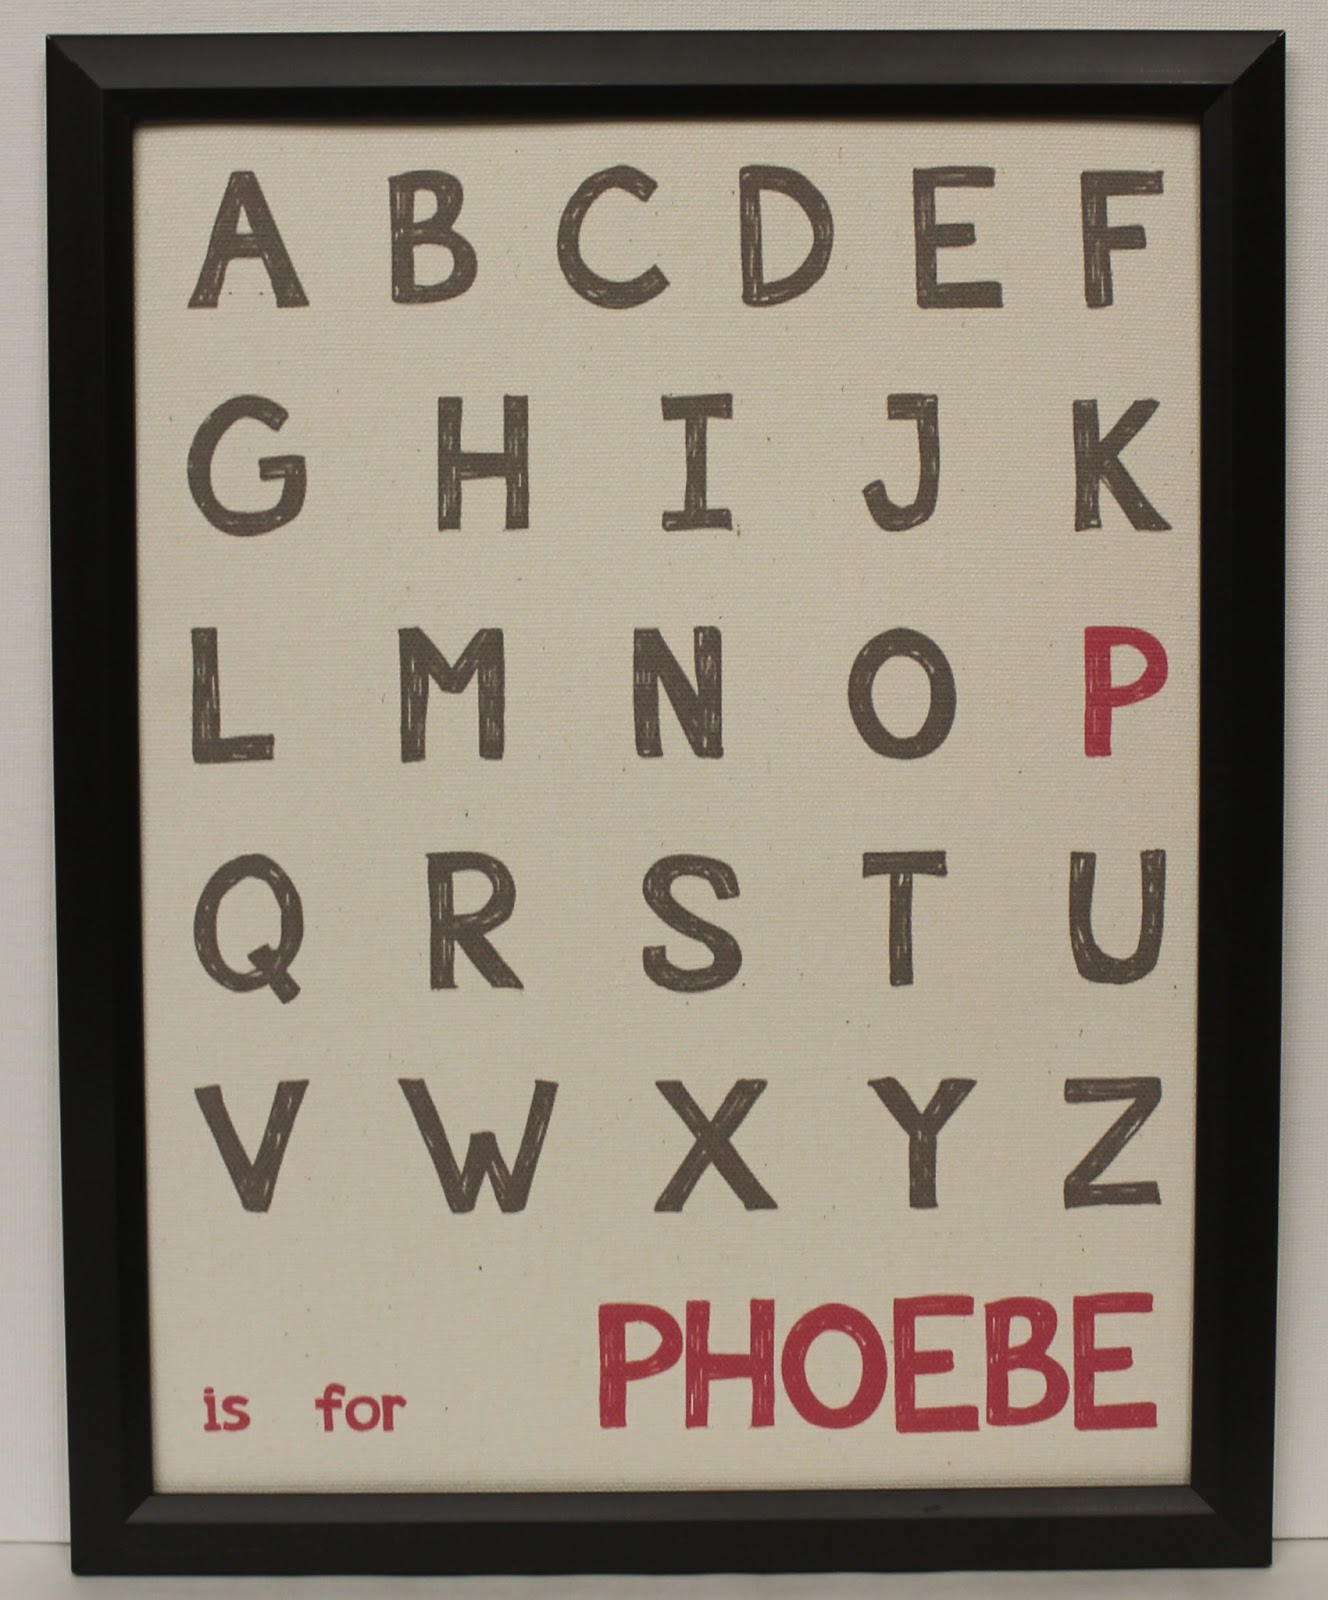
I enjoyed this project so much that I did another one for another mommy! Here is her version:
If you do this project yourself, let me know. I would love to see the finished product!
